Tuesday, June 4, 2013

Sassy Scrappers- Just for you

Hi There!

Iv'e been having fun getting my shabby chic on with the gorgeous Pink Paislee Hope Chest Collection!

The colour palette is really muted in this collection which gives you the opportunity to match your own colours.


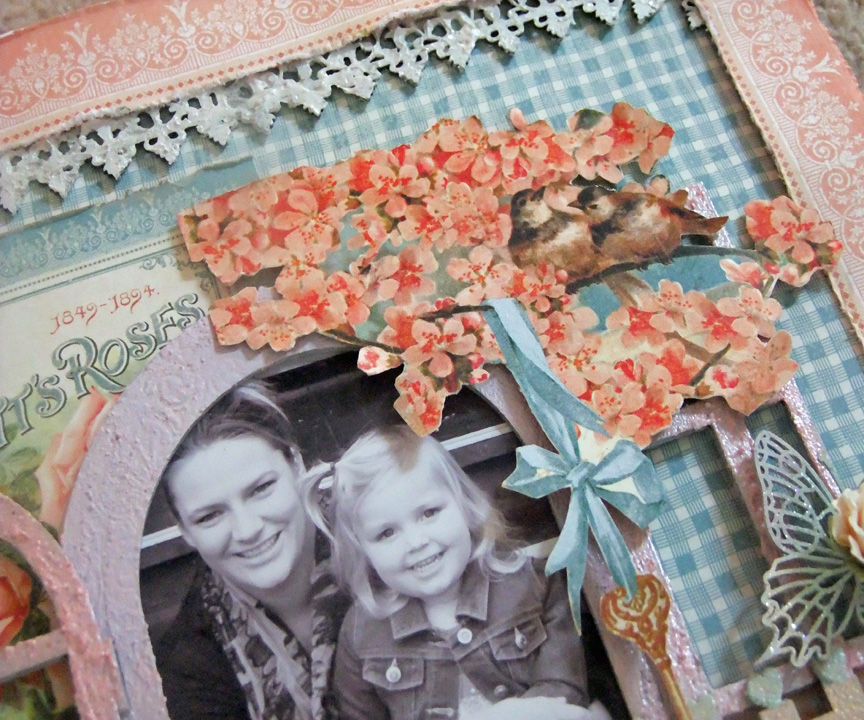
I decided to make a generic card to add to my card stash! I always like to have a couple on hand for last minute occasions. This card isn't really technique based but I like to design cards with lot's of pretties layered up! I have started with a Kraft base & used some papers from The Hope Chest collection. The Image is from another Pink Paislee collection Butterfly Garden


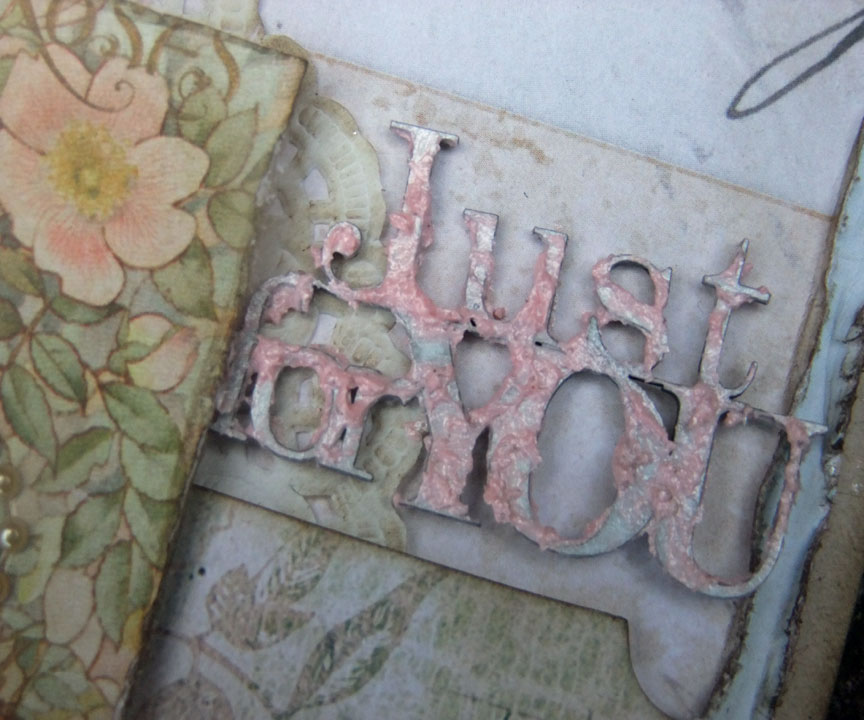
The Just for you chippie is from Imaginarium Designs. It's size is perfect for cards! I have coated with gesso then applied a thick layer of Shimmerz Textures in Crushed Coral

The flowers are an older style Prima- Conventry Tranquill but I just love this pack as there is a gorgeous mix of colours a sizes along with some gorgeous velvet leaves. The mini bloom  & pearl floursh are from Kaisercraft.

Products Used
Pink Paislee Butterfly Gardens Botanical Gardens
Pink Paislee Hope Chest Records
Pink Paislee Hope Chest Ephemera
Prima Flowers Conventry Tranquill
Kaisercraft Classic Latte Pearl Flourish
Kaisercraft Mini Blooms Olive
Kaisercraft Ivory Ribbon Roses
Bo Bunny Doily
Imaginarium Designs Chipboard Phrase
Shimmerz Texturez Crushed Coral


This month Sassy Scrappers is doing something a bit different. Instead of a sketch challenge we have a 'Quote" Inspiration challenge. Base your project on the following quote


Here is my take on it

I have used some mists on the background to add some colour before layering my page.


Products Used
Pink Paislee Hope Chest Documnets
Pink Paislee Hope Chest Ephemera
Pink Paislee Hope Chest Records
Prima Conventry Tranquill
Prima Akran Naturals
Prima Shabby Chic Treasures Resin Cherubs
Prima Say it in Pearls flourish #553906
Kaisercraft Ribbon Roses Ivory
Kaisercraft mini blooms Olive
Pink Paislee Luxe Alphas Copper

You can find Pink Paislee Hope Chest in the shop here

Thanks for joining me today!

Cheers

Monday, June 3, 2013

My Creative Scrapbook Sneak peaks

Hi There!

My Creative Scrapbook have released the sneak peaks for the June kits!

I worked with the Main Kit & Limited Edition Kit this month. For sneaks of the other kits check out the My Creative Scrapbook blog

Limited Edition Kit


 Main Kit


Both kits are super gorgeous!I can't wait to show you the full reveal on the 5th!

Thanks for Looking
Cheers

Saturday, June 1, 2013

Imaginarium Designs- My Girl

Hi There!
This year for Mothers Day I played the Mum's Day, Mum's way rule LOL! This was a good excuse to get some photos with myself & the kids (meaning Hubby was the photographer & everything had to be heavily cropped & edited!)

I captured some lovely pics of the kids & me that I couldn't wait to scrap!


I went for a shabby chic girly theme for this photo of Evie & I using some of my fav ID chippies the window & butterfly!

To alter the Edward Relief border I first coated with gesso then used Shimmerz Texturez in Tidy Widy. I used a small artists trowel to apply a thick coat to give extra texture

To create a rainbow Monarch butterfly I simply coated with gesso then used Prima chalk ink in Pastel pink, purple, green & yellow randomly inking directly onto the chipboard. I the used Shimmerz Enamelz in Sparklicious for a glittery sparkle finishing off with a Prima rose on top.


The heart top picket fence was altered by coating with gesso then inking with clear ink directly onto the chipboard. I then sprinkled a clear embossing powder using a heat gun to set it. This give a little bit of extra texture to the chipboard. I then inked with Prima Pastel Peach. On the hearts I used Shimmerz Texturez in Arti choke.

To alter the My Girls chipboard (I cut the S off) I coated with gesso then used Shimmerz Texturez in Arti choke & crushed coral. I used the artist trowel again to get a heavy more textured look


Here is a tutorial on how I altered the window above

1. First coat with gesso. Use a large stamp with some clear ink. Stamp the image onto the chipboard

2. sprinkle some clear embossing powder all over chipboard. Shake of excess powder

3. Use a heat gun to set embossing powder. The pattern from the stamp should now be visible. Ink/ mist chipboard. I have used Prima chalk ink in Pastel Purple inking directly on the chipboard.

 4. To add some shimmer to the top I used Shimmerz Texturez in Crushed Coral. I used my fingertips to apply a thin coat as I wanted the embossing to still show through

Imaginarium Design Products used
IDB005 Heart top picket fence

IDB0010 Edward Relief Border

IDS0059 Monarch Butterfly

IDS0058 Window & Shutters

IDP0035 My Girls Phrase

Other Products
Graphic 45 Secret Garden papers
Prima flowers
Green Tara Flower (Blue)
Shimmerz Texturez Crushed Coral
Shimmerz Texturez Arti Choke
Shimmerz Enamlez Sparklicious
Gesso
Prima chalk ink Pastel Purple
Prima Chalk Ink Pastel Pink
Prima Chalk Ink Pastel Yellow
Prima Chalk Ink Pastel Green
Prima Chalk Ink Pastel Peach
Scrapbook Adhesives by 3L E-Z Runner
Scrapbook Adhesives by 3L Dodz small
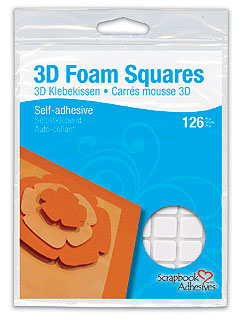
Scrapbook Adhesives by 3L 3D Foam Squares Regular Size White
Scrapbook Adhesives by 3L 3D Foam Squares Small Size White

Now for something a bit more masculine

A quick but effective way to alter chipboard is to cover the chippie in patterned paper. The fastest way to do this is by applying Scrapbook Adhesives by 3L Adhesive Sheets directly onto the paper. Stick the chippie onto the paper then use a sharp craft knife to cut away the excess paper. To tidy the edges use a fine file to sand the edges & ink with Ranger Distress Ink in Walnut Stain. Add extra embellishments as desired

To alter the Enjoy the Ride phrase I first coated with gesso. I then used a sky Blue ink & inked directly onto the chippie. To give a grungy look I used some Tattered Angels Glimmer Glaze in oil Slick dabbing randomly on the chipboard then using my finger to smudge the Glimmer Glaze in

Imaginarium Designs Products Used
IDP0057 Enjoy the Ride Phrase
IDS0010 Hot Air Balloons on board

Other Products Used
Crate Paper Restoration papers
Prima Engraver papers
Prima Romance Novel Paper
Prima Songbird paper
Prima Notecard Almanac
Pink Paislee London Market Numbers
Pink Paislee Artisian Elements
Prima Findings Light Bulb
Versa Ink Sky Blue
Tattered Angels Glimmer Glaze Oil Slick
Ranger Distress Ink Walnut Stain
Scrapbook Adhesives by 3L Adhesive Sheet s 6"X12"
Scrapbook Adhesives by 3L E-Z Runner
Scrapbook Adhesives by 3L Dodz small
Scrapbook Adhesives by 3L 3D Foam Squares Regular Size white


Thanks for joining me today! Don't forget to leave a comment on the Imaginarium Designs Blog for your chance to win some awesome Imaginarium Designs Chipboard!

Cheers


Wednesday, May 29, 2013

Sneak peak for class

Hi There!

Here is some info in regards to a class I am teaching next week for any local girls!

Welcome to Sassy Scrappers Pickled Pear Class

Date:  5th June 2013
Time: 7.00pm
Place: Greek Orthodox Hall – Elgin Street Morwell
Teacher: Shell Carman
Cost: $25.00


Requirements:

Scrapbooking Essential Tools:
Mat, Scissors, Trimmer, Adhesive, foam tape, brown/black ink, Distressing Tool or File.

Photo Requirement: 4x6 Portrait (preferably in black in white.)

Class Techniques:

·         Altering Chipboard with Stamping and Embossing Techniques
·         Flower Clustering

·         Fussy Cutting

Looking forward to seeing you there!

Cheers

Tuesday, May 28, 2013

Sassy Scrapper- Happy!

Hi!
I'm sharing my last Photo Freedom project for Sassy Scrapper with you today. I have kept my Photo Freedom pages fairly simple which is not my typical style but it was nice to have a bit of a change!

If you have tons of photos you need to get get through quickly then this is the ideal scrap system for you! 


All the papers, stickers & photo sleeves are in this Echo Park Photo Freedom Happy Go Lucky Kit
You can find this in the shop here
I have also added some 
yellow diagonal stripe washi tape

The Greatest View Grassy Knoll Flair Buttons

Green Bakers Twine

Thanks for looking!

Friday, May 24, 2013

My Heart & Soul- SCrapbook Adhesives by 3L

Hi There!

Today is my first post for Scrapbook Adhesives by 3L®!
I love to use lots of embellishments on my page which are often bulky & heavy. I want my embellishments to adhere instantly without moving around the page. Dodz 3D
Dodz Medium are perfect for this!

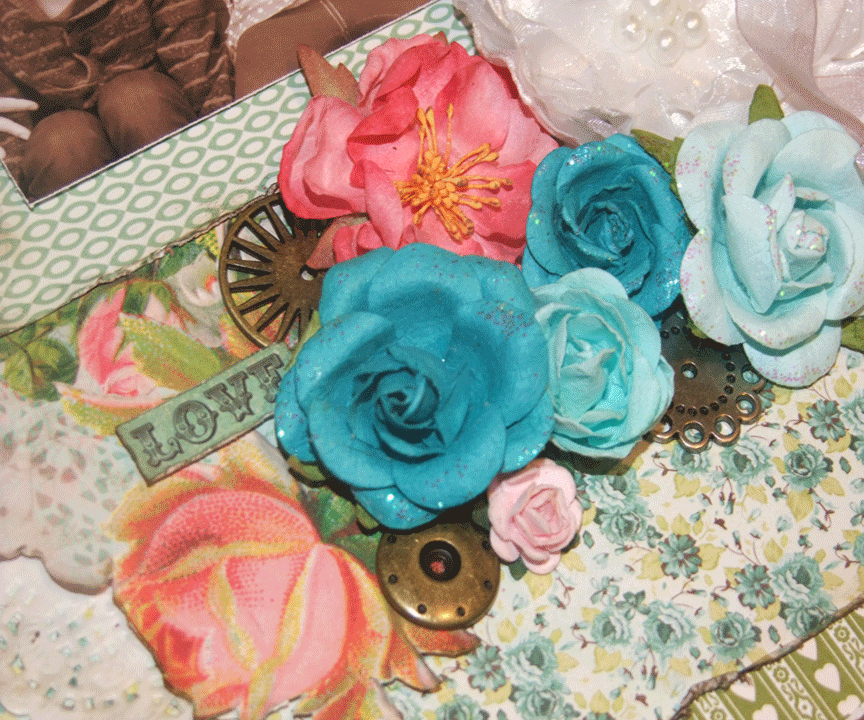
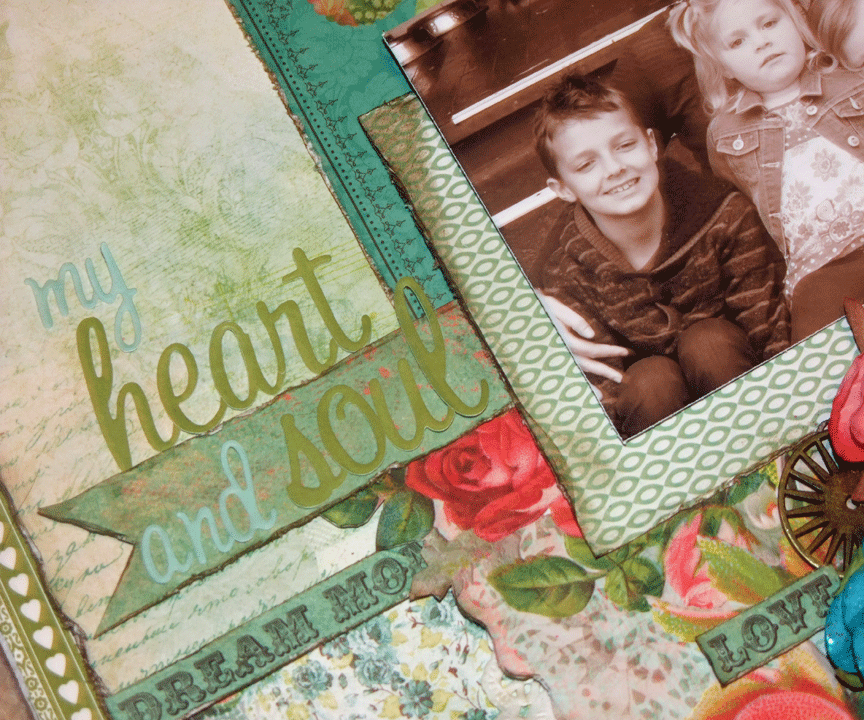
As you can see I have created a large cluster of flowers & Vintage trinkets. All of these have been stuck down with Dodz 3D & Dodz Medium!
I also like to create dimension by using 3D Foam Squares for the larger pieces & the 3D Foam Squares Smallfor the finer fussy cut pieces.

I have used the small 3D Foam Squares at the end of the pendant & the regular size throughout the body of the pendant.
To stick down all of my layers I used my E-Z Runner Permanent Strips Refillable Dispenser which made the layering process so quick & easy!
Thanks for joining me today!
Products Used
Scrapbook Adhesives by 3L®:
3D Foam Squares White Small 3D Foam Squares Regular Dodz Medium
Dodz 3D E-Z Runner Permanent Strips Refillable dispenser