
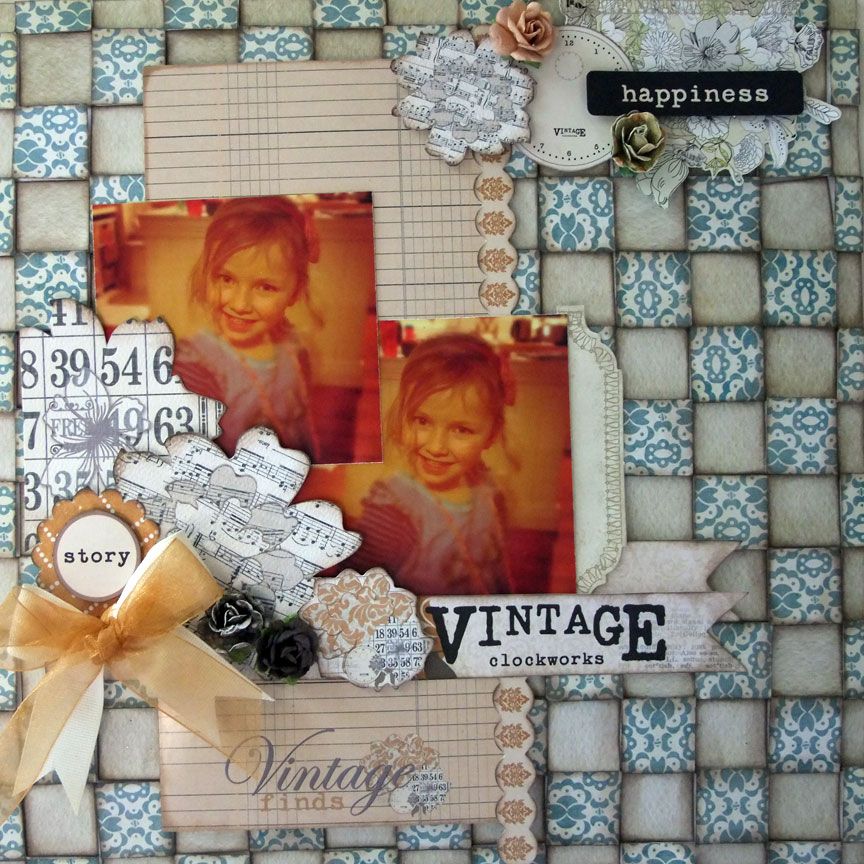
I am sharing a just because page today. I took the title from one of my fav songs at the moment "Prima Donna Girl" by Maria & the Diamonds. It seemed to suit the photo & I used all Prima products too!


I also have a little tutorial on the My Creative Scrapbook blog today on creating a 3D textured back ground
Hi There! Today I want to show you how I created the 3D background on this page
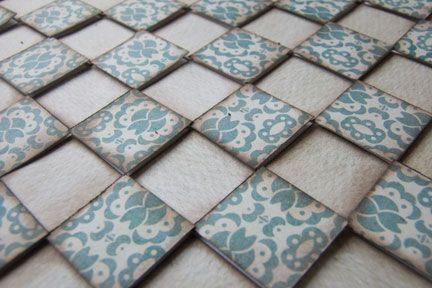
Close up it looks like this
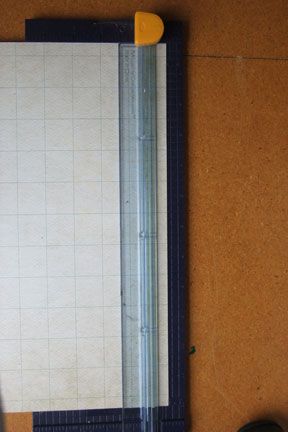
Using the October Main Kit & a sheet of white cardstock & brown ink & Foam tape/foam dots
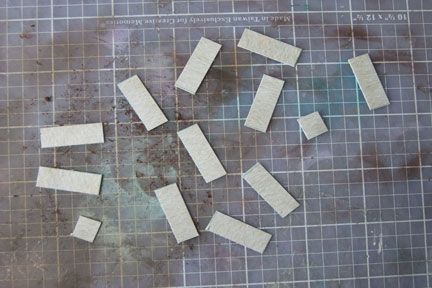
1. Take the MME Bluebell Playful mischief paper. Use the grid pattern & cut along the vertical lines
I find it much easier to work row by row on at a time so you don't end up with pieces everywhere.
2. Use your scissors & cut along the printed lines on the first row
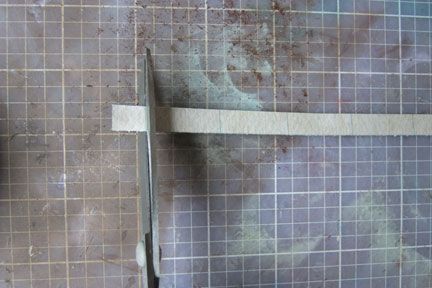
Keep cutting the pieces for the first row
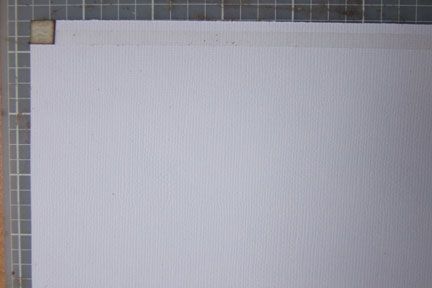
3. Place a strip of tape along the top of some cardstock
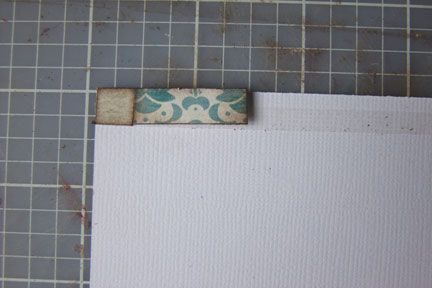
4. Take the smallest piece to start with. Ink the plain side & stick it down in the top left corner
5. Take the next piece & ink the BLUE PATTERN side this time. Use some foam tape & stick beside the first piece
6. Take the next piece & ink the plain side & stick beside second piece

7. Take the next piece & ink the BLUE PATTERN side & stick beside third piece with some foam tape
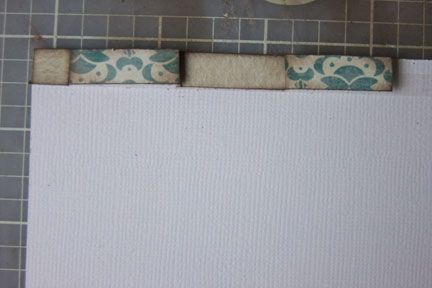
Continue to follow this order until the entire row has been stuck down ** Always alternate from plain to pattern side. All pattern pieces should be stuck down with foam tape
8. Cut the next row & continue to use the same technique. ** Make sure you start with the BLUE PATTERN piece for the 2nd row then start with a plain piece for the 3rd row then a BLUE PATTERN piece for the 4th row etc
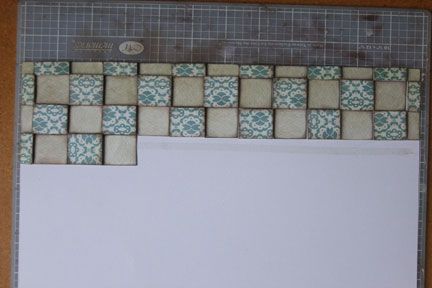
9. Contine to stick all your pieces until the cardstock is completely covered. Trim any edges as required

Cheers
such a gorgeous page, great tutorial too :)
ReplyDeleteHI.. what a beautiful layout the first layout is.. and wow.. you have so much patience to layer all those squares for such a wonderful end result!
ReplyDeleteGorgeous work Shell!
ReplyDeleteWow! This layout is absolutely amazing!
ReplyDeleteLove the gorgeous details in both of your pages and wow... fabulous effect for the 3d background!!!
ReplyDeleteAga xx
wow it's beautiful lovely details greetings janneke
ReplyDeleteLove your 3 D backgrounds!
ReplyDeleteStunning pages Shell, love your background technique, very time consuming but looks absolutely stunning!!
ReplyDelete