Showing posts with label shabby chic card. Show all posts

Tuesday, March 11, 2014

Sassy Scrappers Loving Greetings Card

 Hi There!
 
 I have put together a card for Sassy Scrappers from the Graphic 45 Sweet Sentiments collection. I decided to pull out some embossing folders & dies to have a play & add some texture & dimension to the card.


I love using a mix of patterns & colours for interest. The gorgeous vintage  image was fussy cut from the Easter Greetings paper.
 
Products from the Sassy Shop
G45 Sweet Sentiments Easter Greetings paper
G45 Sweet Sentiments All My Love paper
G45 Sweet Sentiments Heart Song paper
G45 Sweet Sentiments Violet Bouquet paper
G45 Sweet Sentiments Sticker Sheet
 
You can find Graphic 45 Sweet Sentiments in the shop here
 
Thanks for joining us today!
Cheers
Shell
 photo gg_wildfree_element43_zps9506ab27.jpg

Tuesday, July 30, 2013

True Romance Gift Box, Oval Easel Card & Tag

Hi There!
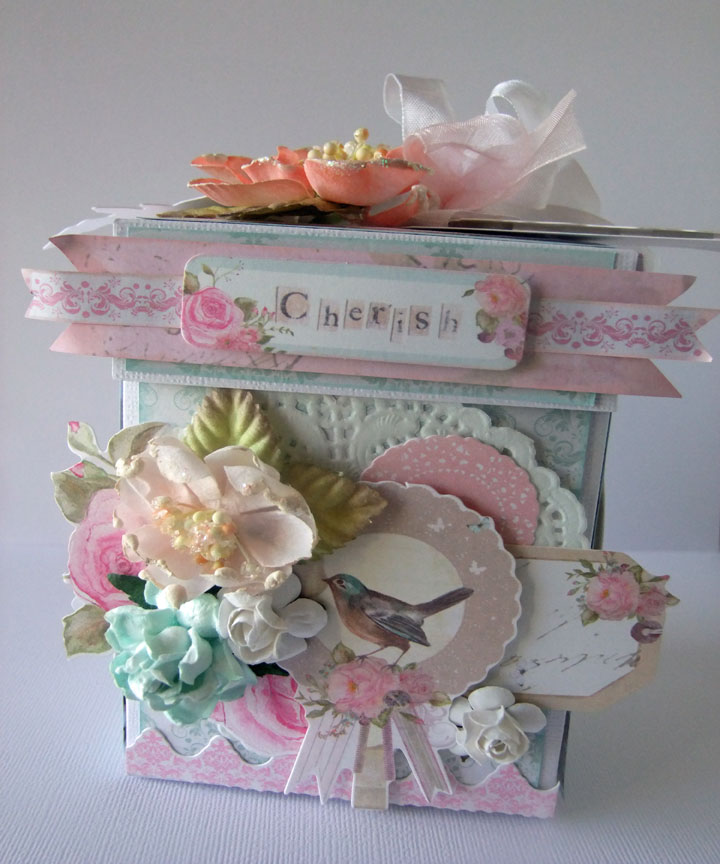
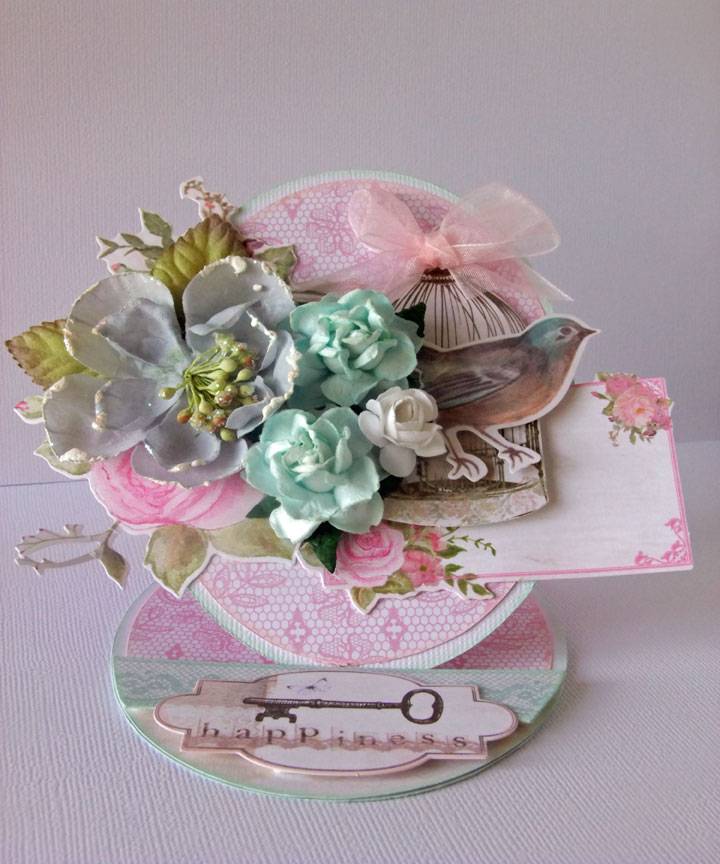
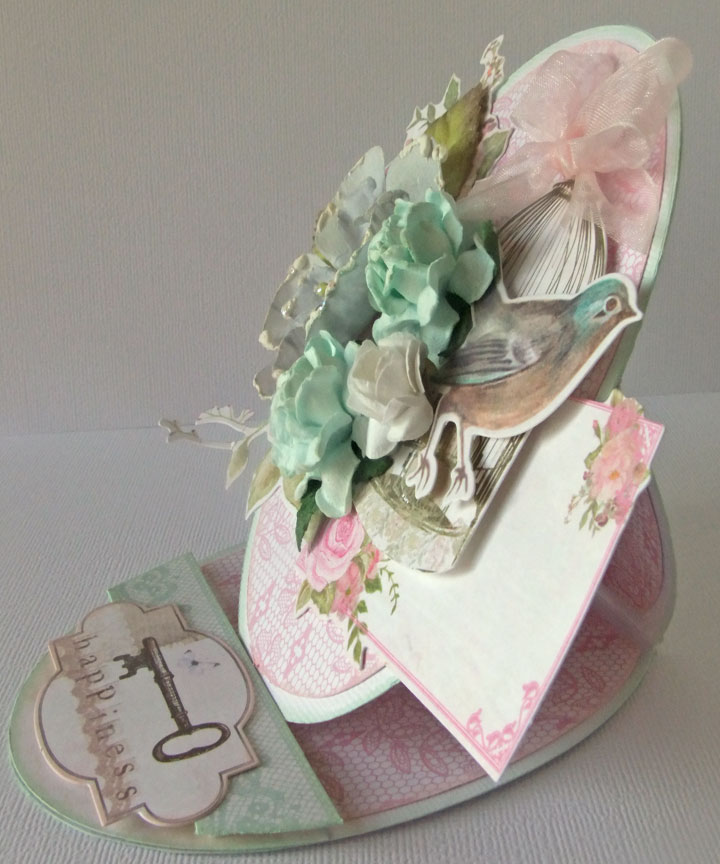
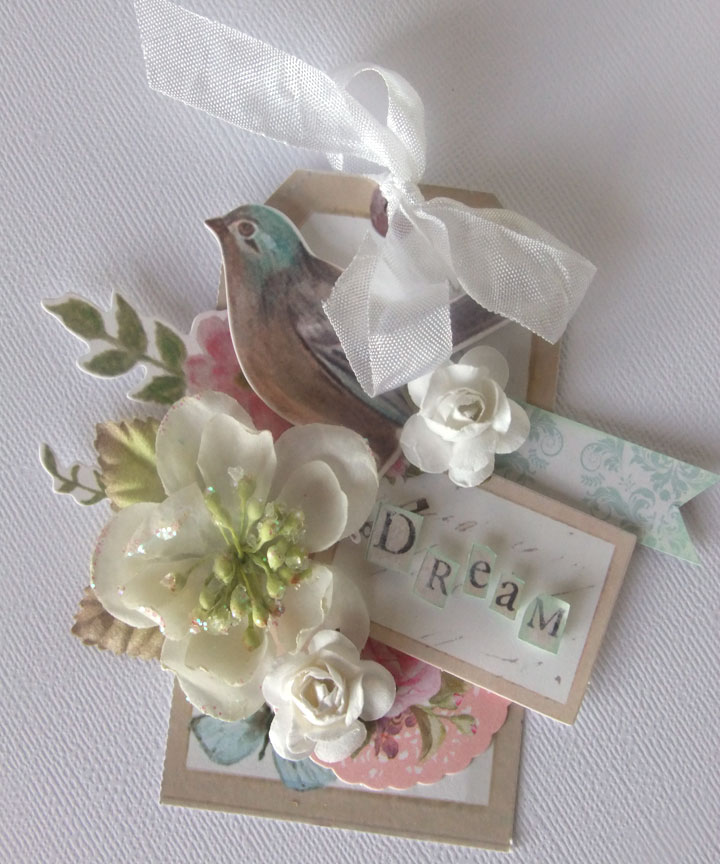
Today I’m sharing 3 projects I created with a truly beautiful shabby chic collection, Kaisercraft True Romance. The pink, peach & seafoam green colour palette is so gorgeous & girly & I had so much fun creating these projects.
I am so excited to say that these were on display at CHA in the Scrapbook Adhesives by 3L booth. My first ever projects Iv'e had on display at CHA!!
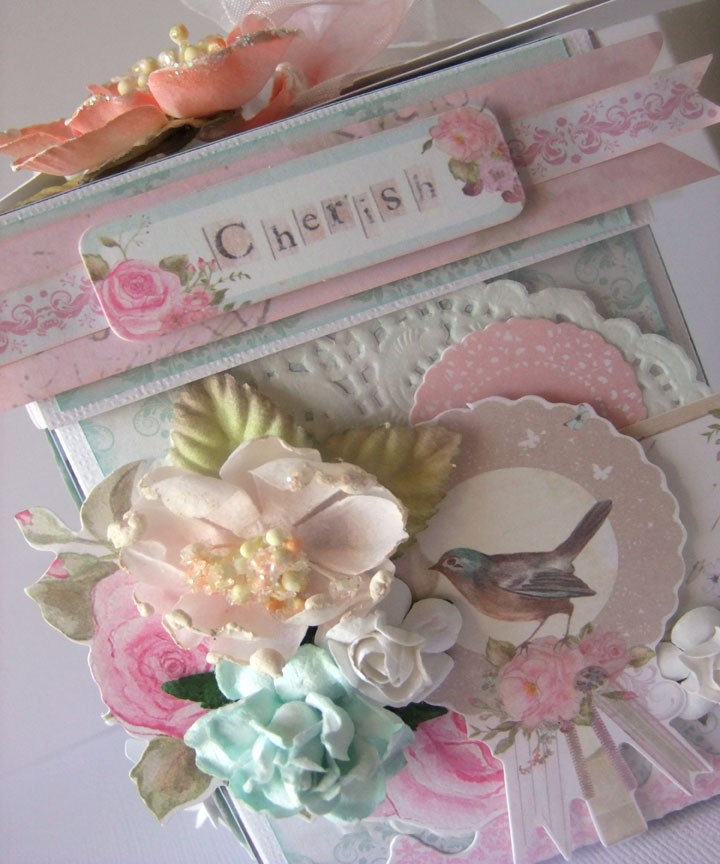
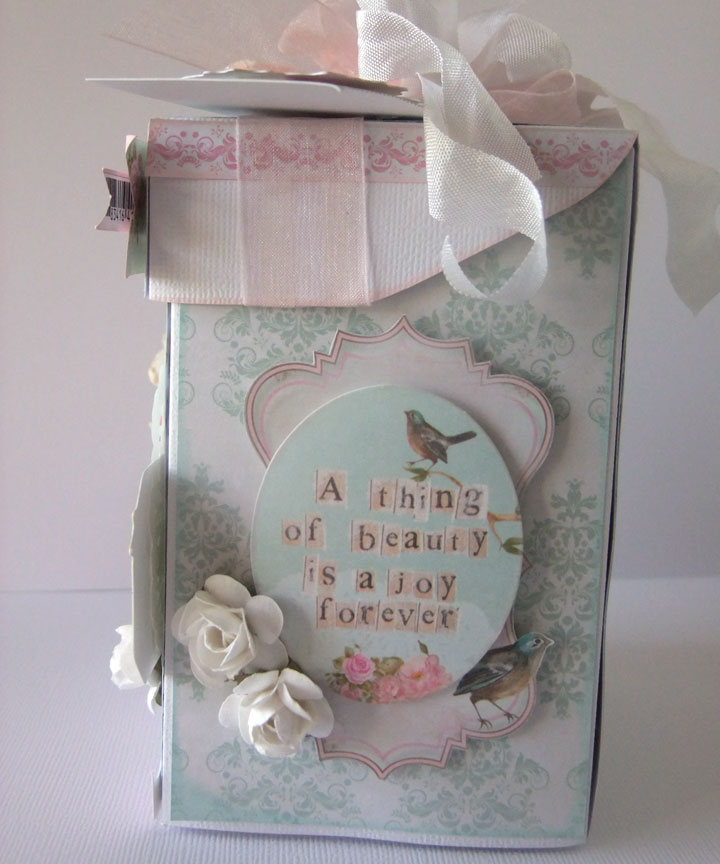
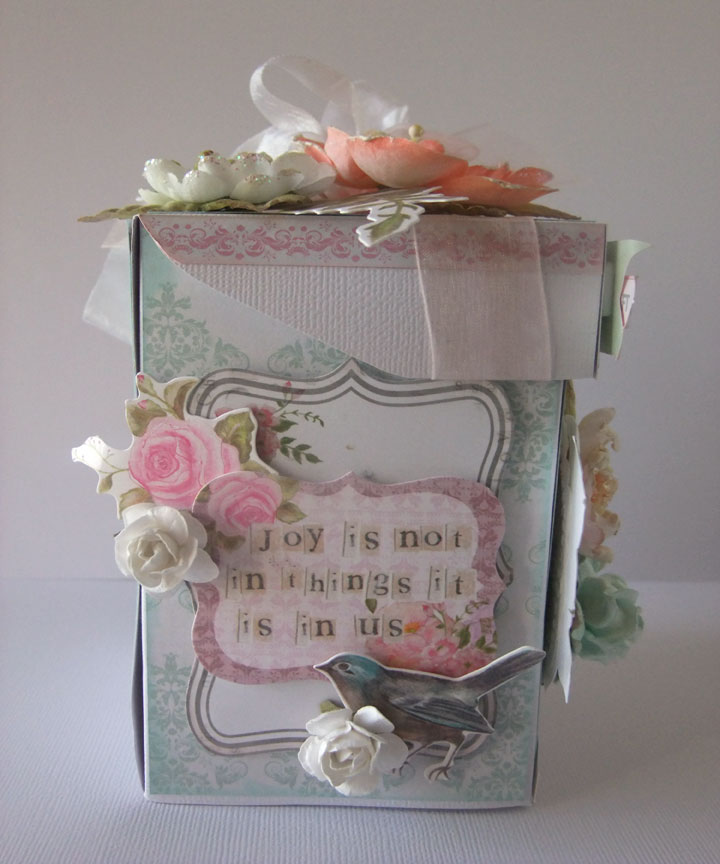
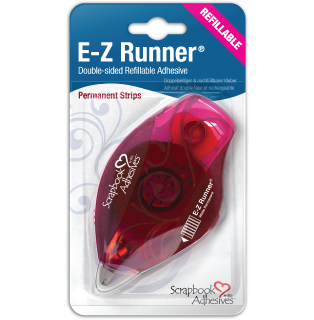
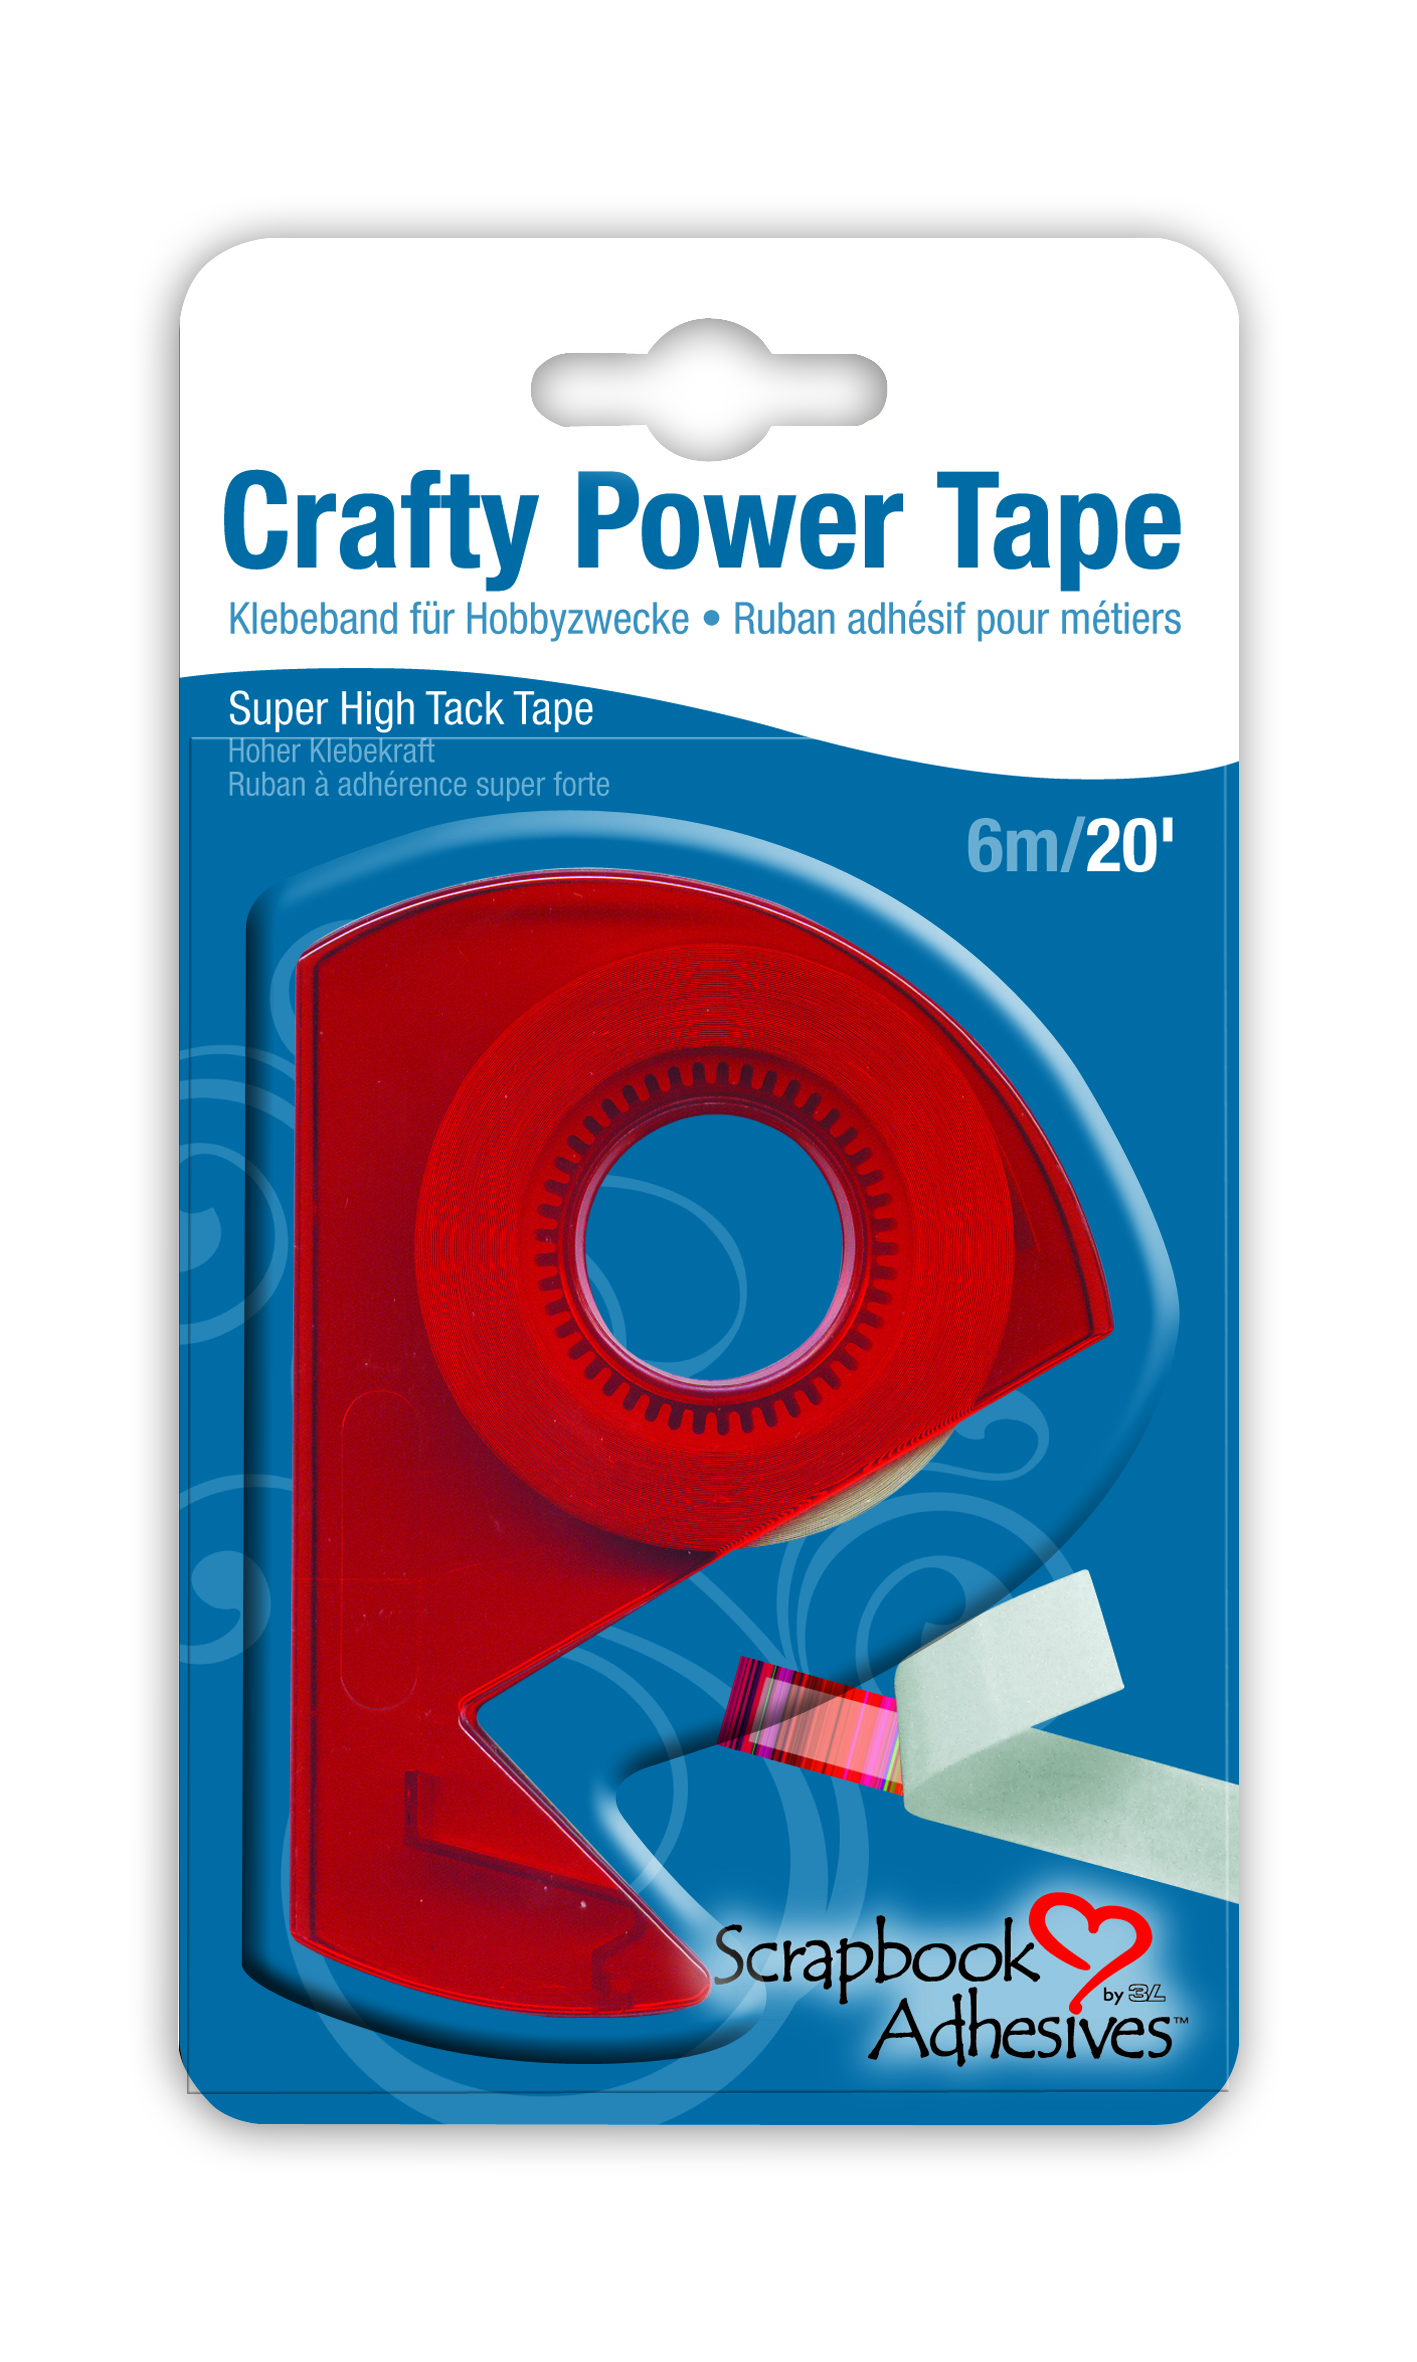
First up I have created a gift box. I simply pulled a tea bag carton apart & traced around it on some white cardstock. I then cut it out & put it together. I wanted to make sure the carton was stuck together properly so I used the very sturdy Crafty Power Tape 20″/6m in dispenser . To decorate I cut some pattern paper to size using the EZ Runner Permanent strips Refillable Dispenser to stick them down.
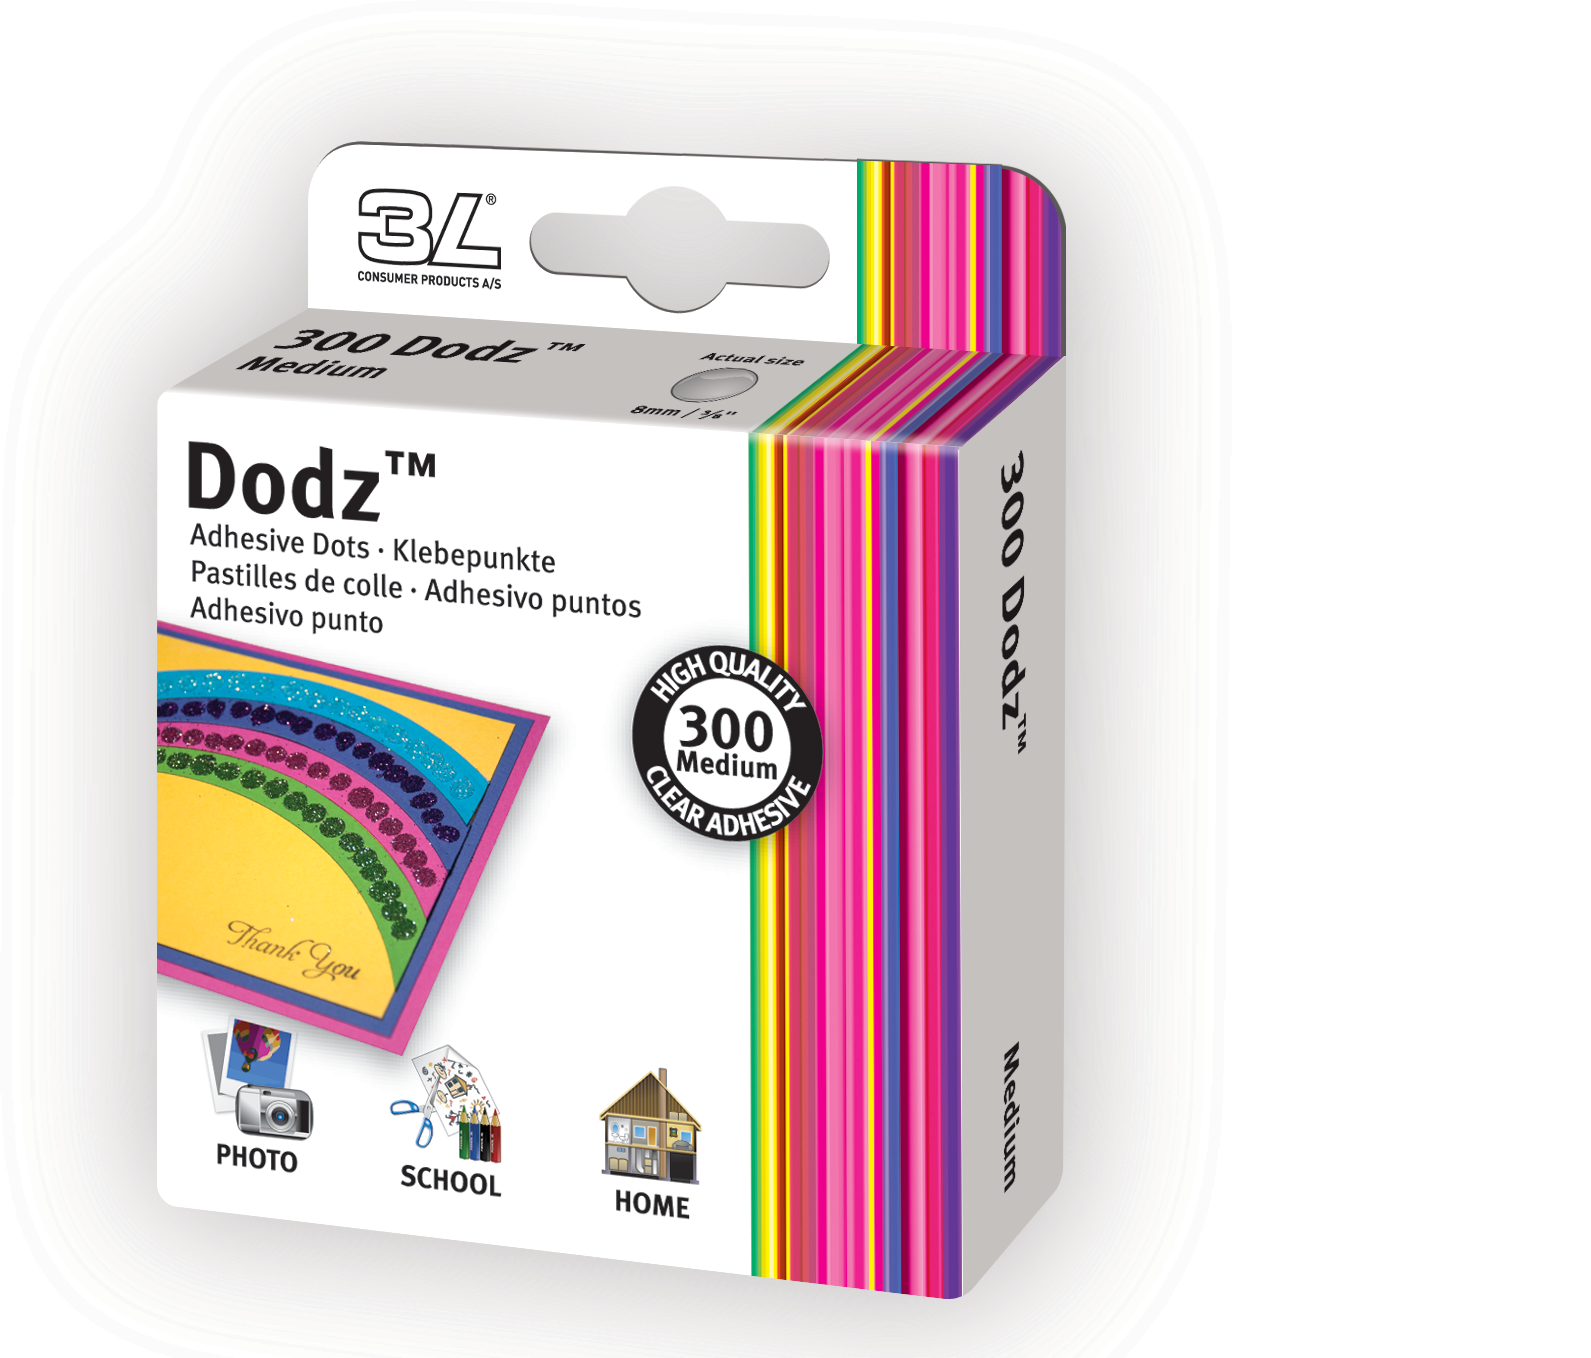
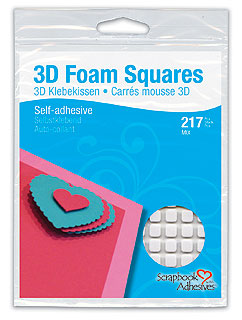
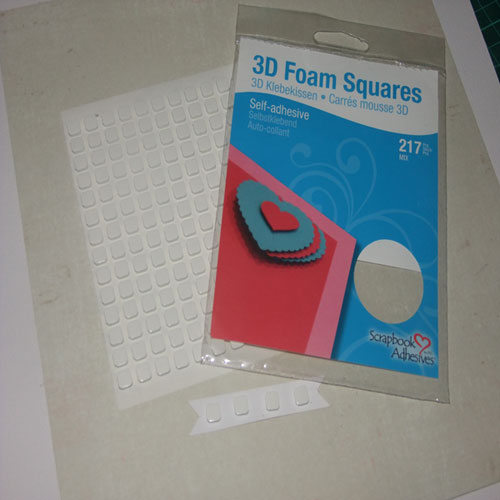
I used some lovely shapes from the collectables pack creating layers & dimension with the 3D Foam Squares White Variety Pack. Using my fav product Dodz Medium I adhered an arrangement of Prima & Kaisercraft flowers.
Oval Easel Cards are my favourite card to create. The shape gives that extra special something while still allowing plenty of space for decoration.
Again I have used Dodz MediumEZ Runner Permanent Strips Refillable Dispenser & 3D Foam Squares White Variety Pack to add decoration to my easel card.
Lastly I created a tag to match the card.
Scrapbook Adheisves by 3L products used
E-Z Runner Permanent Strips Refillable dispenser Dodz Medium Crafty Power Tape 20' Blister Pack w. Dispenser 3D Foam Squares White Mix
Other Products Used
Kaisercraft True Romance papers
Kaisercraft True Romance Collectables
Kaisercraft True Romance Sticker Sheet
Prima Tatiana Coral Flowers
Prima Tatiana Icicle Flowers
Kaisercraft True Romance is available at Sassy Scrapper here
Thanks for Looking!

Friday, June 7, 2013

Scrapbook Adhesives by 3L- Happy Birthday Card Tutorial

Hi There!
I have a tutorial on making a layered shabby chic Birthday Card on the Scrapbook Adhesives by 3L blog
I have chosen some girly papers & products with the idea of making a pretty card for a young girl. I am using Prima Fairy Belle collection with a collection of Scrapbook Adhesives by 3L!
Start by cutting a piece 6″X12″ from white cardstock & fold in half so that you have a 6X6″ square card base.
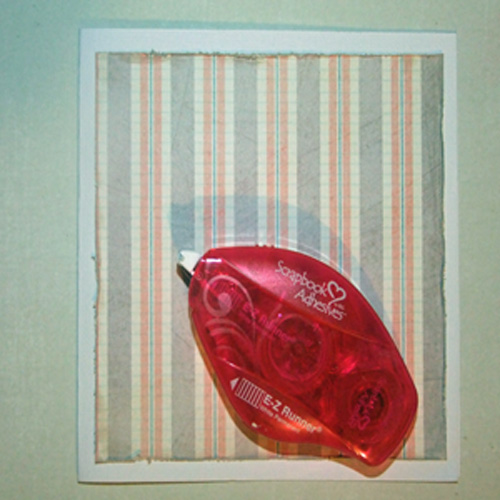
Cut Fairy Belle in Firefely 5.5X5.5″ & distress & ink the edges. Run the E-Z Runner Permanent Strips Refillable around the edges of the firefly piece & stick to white card base.

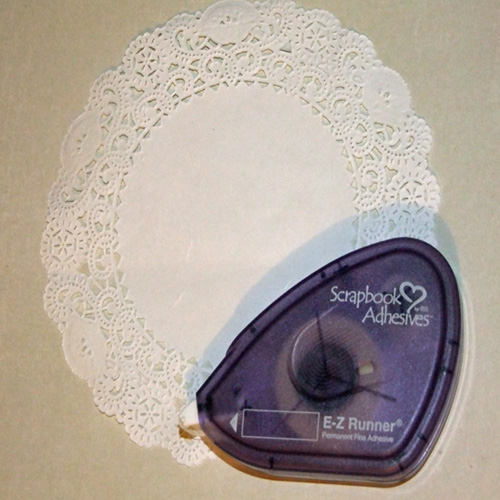
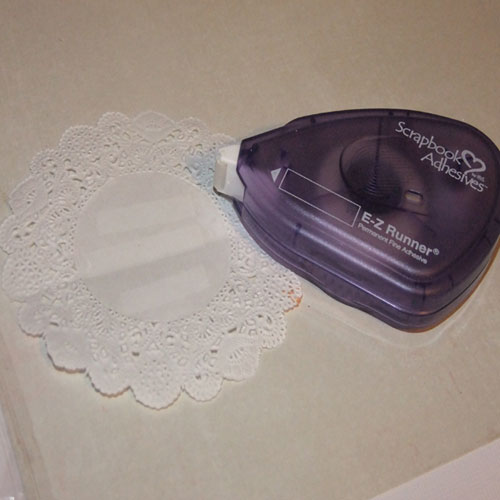
Use a Medium size White doily. Apply E-Z Runner Permanent Fine Adhesive to half of the doily. As the doily is quite a thin paper the E-Z Runner Permanent Fine Adhesive is a much finer, lighter texture tape so it won’t show through the paper of the doily.

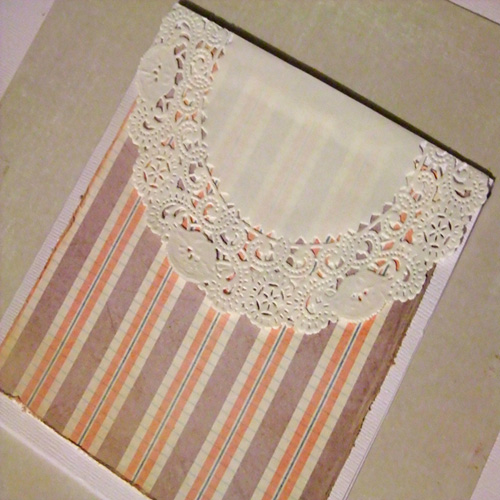
Stick the doily to the top/centre of the card with half the doily folding over the back of the card

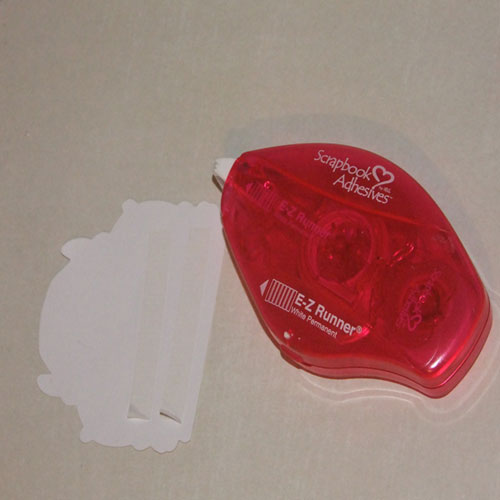
Cut a Fairy Belle Notecard in half. Use the E-Z Runner Permanent Strips Refillable & apply to the bottom half only

Stick the notecard top/centre of doily with about 1/4 overlapping the top edge.
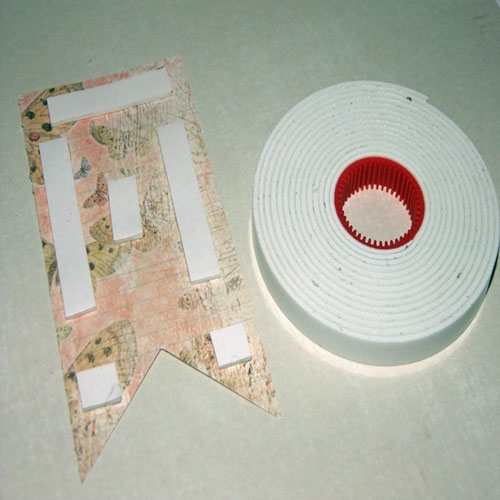
Cut La Spa sheet 2X5″ Pendant. Place Crafty Foam Tape along edges. I prefer to use the Crafty Foam Tape for larger pieces

Use a small white doily & apply E-Z Runner Permanent Fine Adhesive in centre. Again I’m using the E-Z Runner Permanent Fine Adhesive on the doily as the paper is more delicate & the tape in the E-Z Runner Permanent Fine Adhesive is quite fine & will not show through

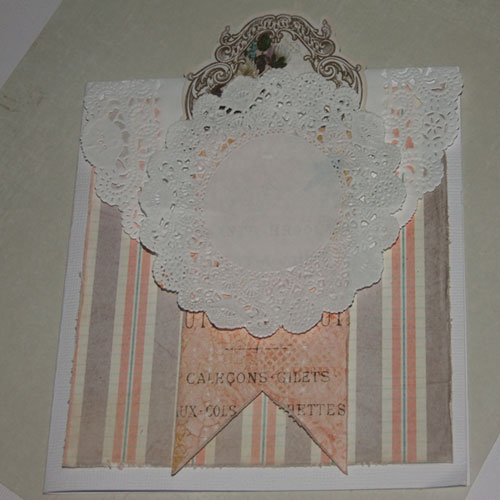
Stick the doily over the top of the pendant join

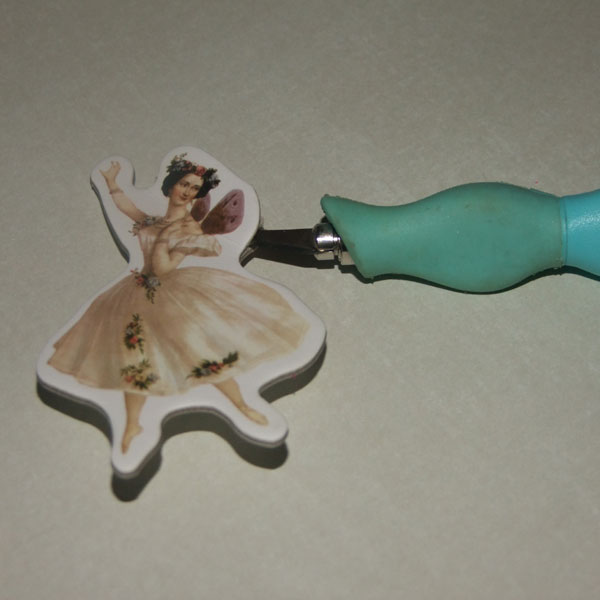
Take the Fairy Belle Chipboard piece Ballerina Fairy. I don’t like the white around the edges & prefer more detail so I am going to fussy cut it. Use a craft knife to split it in half

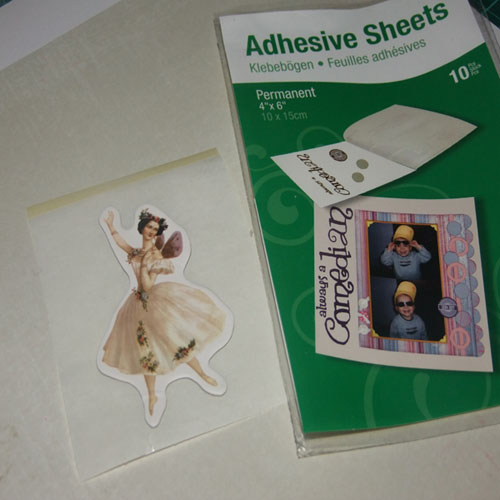
Once the chipboard piece has been fussy cut the image is very delicate with very thin areas. It is quite hard to stick down so I find this the most effective way. Use Adhesive Sheet 6″X4″/10CMX15CM. Take 1 sheet & cut in half. Remove yellow release liner. Stick the chipboard piece down (good side facing up). Fussy cut around the chipboard image. The Adhesive sheet now fully covers the chipboard piece even in the tiny intricate places!

Repeat this process with a second Fairy Ballerina Chipboard piece. Stick either side of pendant
Die Cut a Spiral Circle from Fairy Belle Firefly using the grey side
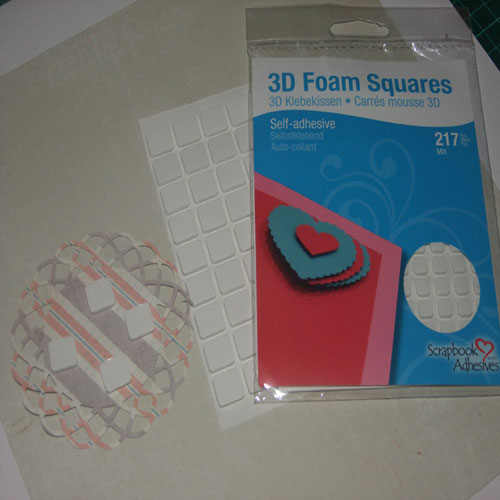
Use 3D Foam Squares-White Variety Pack. I love this pack as it has a mix of large & smaller size foam squares. Use the larger size & apply to the back of the die cut

Cut 5X1 1/4″ piece from Fairy Belle Summer Dream. Distress & Ink edges. Use 3D Foam Squares-White Variety Pack again using the larger size in the pack. Apply to back of pendant

Stick on top of die cut spiral circle
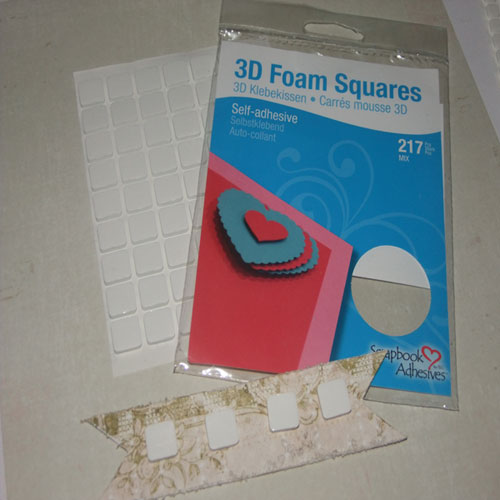
Use some scrap white cardstock. Stamp a banner in Brown ink. I have used Just Rite Clear Buntings & Banners. Fussy cut the banner. Apply foam tape to the back using 3D Foam Squares-White Variety Pack using the small size this time. The smaller squares are a perfect fit to place under each banner

Stick this under pendant just above the Fairy Ballerinas hands
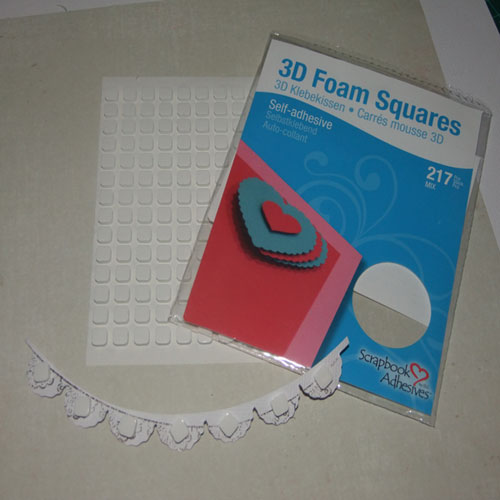
Stamp a sentiment on some scrap white cardstock in Brown ink. I have used Just Rite Clear Buntings & Banners (Happy Birthday). Fussy cut a small pendant around the stamped sentiment approx. 2.5X0.5″. Ink the edges. Apply 3D Foam Squares- White Variety Pack using the smaller size

Stick this on top of the larger pendant
Finish decorating card. I have used Jenni Bowlin bows in cream on either side of pendant. They are self adhesive but to make sure they stay down I have used Dodz Small on each bow. Use Liquid Pearls on pendants & banner
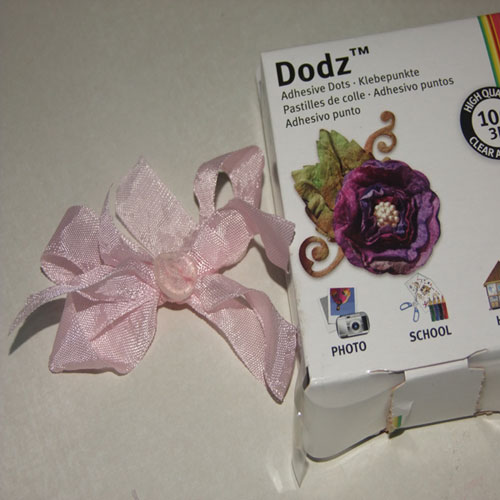
Tie a bow with seam binding. Apply Dodz 3D in centre of Bow & stick down at top of card

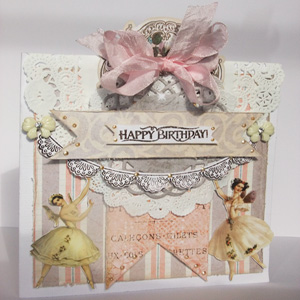
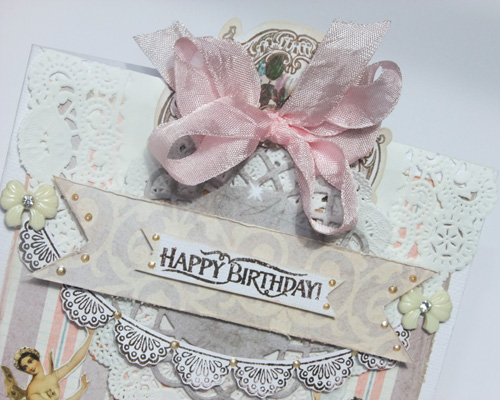
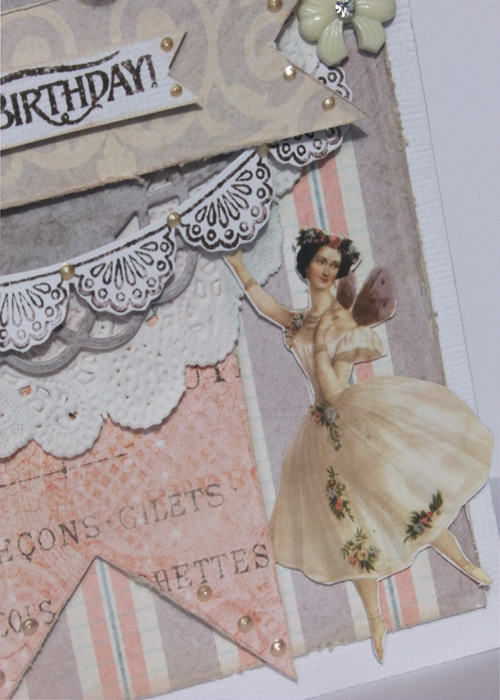
& now you have a shabby chic card with lots of layers & dimension! Here are some closeups


Dodz Small Dodz 3D Adhesive Sheet 4 x 6"
3D Foam Squares White Mix Crafty Foam Tape White 13" E-Z Runner Permanent Strips Refillable dispenser
E-Z Runner Permanent Fine
Other Supplies Used
Prima Fairy Belle Paper
JustRite Clear Stamps
Ranger Ink Liquid Pearls
Jenni Bowlin Bows
Megs Garden Doilies

Thanks for looking!

Wednesday, May 1, 2013

Imaginarium Designs- Pop Up Card/ Happy Days


Hi There


I'm up on the  Imaginarium Designs blog with a mix of Imaginarium Designs & Graphic 45 goodness! This first project is a Shabby Chic 3D Pop up card.
(These 2 projects were the other 2 I submitted for the Final round for the G45 DT call)

This is the inside of the card once fully opened


To alter the Heart Top Picket Fence first paint with gesso. Use Ranger Distress ink in Walnut Stain & gently/ randomly swipe to give a more vintage appearance.


To alter the window with lattice & shutters first paint with gesso. Once dry paint a thick coat of Ranger Distress Crackle paint in Shabby Shutters. Let the paint dry for a few minutes then take a heat gun & hold it close to the paint. This helps the paint to dry & creates the paint to crackle & bubble more!

The outside of the card


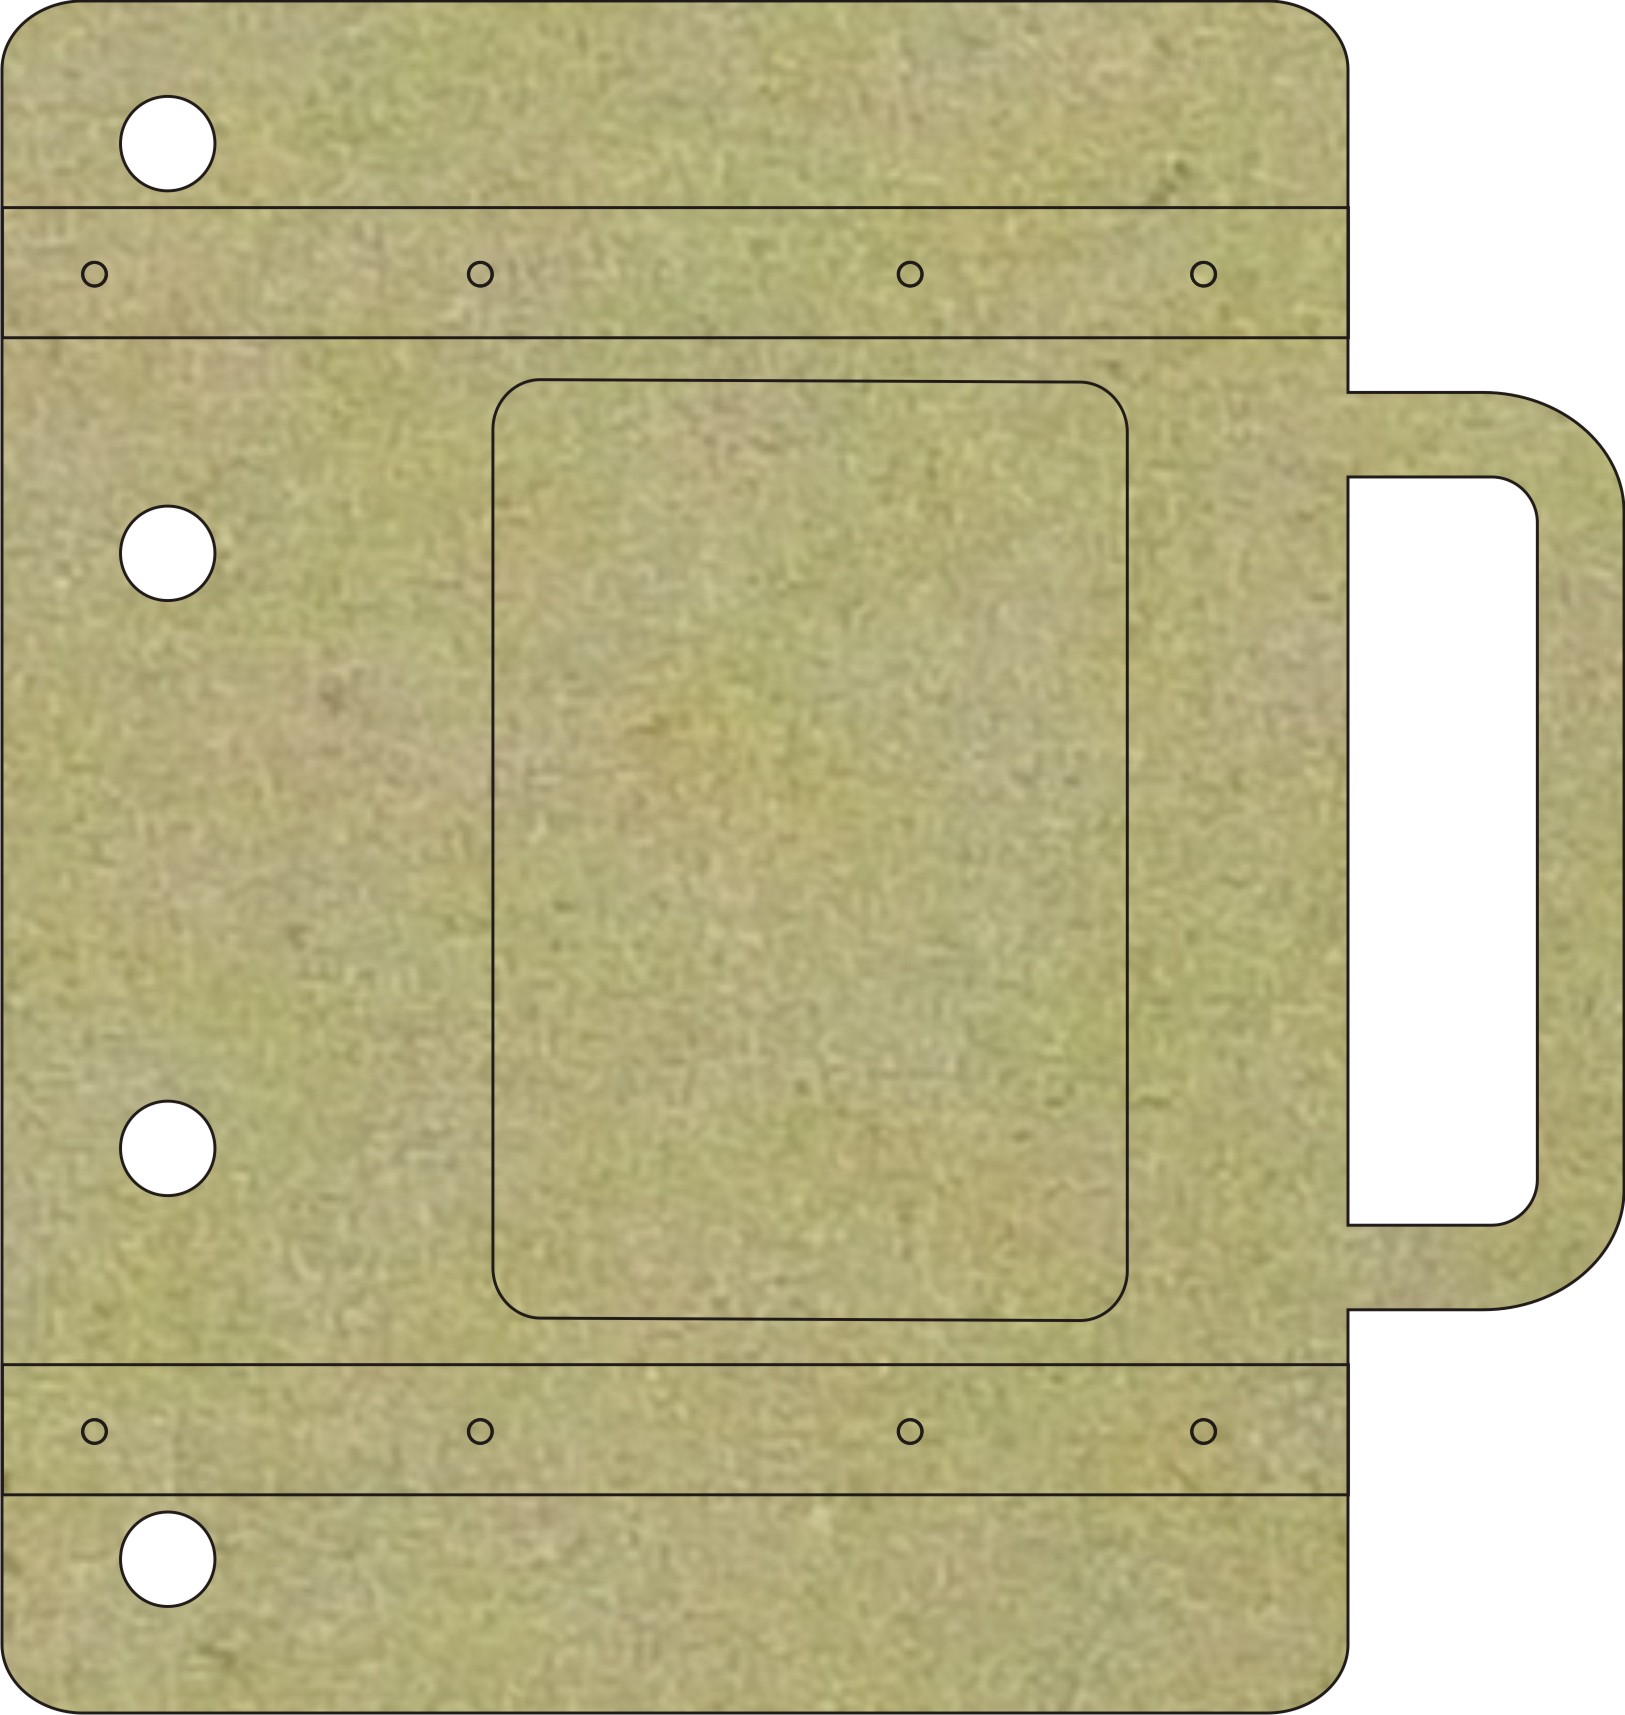
Imaginarium Designs Chipboard Used

Heart Top Picket Fence IDB0005

Window with Lattice & Shutters IDS0016

Other Products Used
Graphic 45 Secret Garden papers
Graphic 45 Secret Garden Alphabet Sheet
Prima Flowers
Ranger Distress Ink Wlnut Stain
Ranger Distress Crackle Paint in Shabby Shutters
Gesso
Ribbon
Martha Stewart Punch
lace

After playing with shabby chic pretty colours I wanted to change to some vintage coppers & browns. This page is of my baby girl Evie Jools.


 The Happy Days Title was a great match for this photo. I first painted the title with gesso then inked the title with versacolour ink in sky blue. Once this was dry I painted a coat of Ranger Distress Crackle Paint in Rock Candy. I use a heat gun to help crackle the paint.Once completely dry I randomly inked some Ranger Distress ink in Walnut Stain so that the brown ink went into the cracks of the paint.

I cut this Vine Flourish in half & placed half on either side of the flower cluster. To alter it paint a top coat of gesso. Once dry use your finger to dab Imapsto on the leaves. Pain a thick coat of Shimmerz in Spiced Copper over the entire flourish. While it is still wet sprinkle some Copper Embossing powder randomly on flourish. Use a heat gun to set embossing powder.

By using a mix of the Impasto, Shimmerz & Embossing Powder it creates lots of texture to the chipboard


I kept the clock & compass simple first painting with gesso. Then using versa colour ink in Ash Rose I inked the entire clock. i cut the clock in half & placed half  on either side of the page

Imaginarium Designs Products Used


IDFL0004 Vine Flourish

IDP0069 Happy Days Phrase

IDS0062 Clock & Compass

Other Products Used
Graphic 45 A Ladies Diary papers
Bo Bunny Paper Doilies
Prima Flowers
Ranger Distress Ink Walnut Stain
Versa Colour Ink Ash Rose
Versa Colour Ink Sky Blue
Ranger Distress Crackle Paint Rock Candy
Impasto
Shimmerz Spiced Copper
Embossing Powder Copper

Thanks for joining me this month for Imaginarium Designs.  Don't forget that further inspiration by others, as well as the Design Team, can be found on the Imaginarium Designs Ning Site too!

 Also, don't forget to leave a comment on this post over at the Imaginarium Designs blog, to be in the monthly draw to win a package of Imaginarium Designs chipboard.

Cheers Shell XX